
NECKWEAR / DEVELOPMENT
Dog bandana styles: fastening & fit.
Compare tie-on, snap-on and over-collar dog bandana designs for a wholesale brief. Specify neck range, artwork placement, fastening and sample checks.
THE SHORT ANSWER
Choose a bandana structure together with its finished measurements, fastening and artwork position. A tie, snap or collar channel changes the construction you need to describe; confirm the actual sample rather than choosing by the fastening name alone.
VISUAL REVIEW / BEFORE A SAMPLE ORDER
The fastening changes the brief.
Choose a detail to see what belongs in your buying brief.
REVIEW POINT 01
Review the ends and the visible front.
Discuss the total tie length, usable neck range and how the knot changes the visible panel. Check the edge finish and print placement against the sample.
Tie-on: record the ends and the visible front
A tie-on brief should identify the finished outline, end lengths and intended neck measurement range. Review how the front sits after tying and where the artwork remains visible. The flat cutting outline is not a substitute for a finished sample review.
Snap-on: identify fastening positions
Record the finished dimensions and the position of each fastening point. Review the reverse and any layers around the closure. Confirm the sample measurement range and attachment requirements; the name of a closure does not establish a safety or durability claim.
Over-collar: define the channel
If the design passes over a collar, define the channel dimensions and the intended collar dimensions to review. Check the product as assembled, including the position of the design and labels. Confirm compatibility using the actual sample.
Keep artwork and construction together
Mark the visible front, folds, seam allowances and label position in your artwork discussion. For decorative neckwear, include embellishment position and attachment in the review. Confirm composition and care separately from the fabric appearance.
How does the finished style affect your branding?
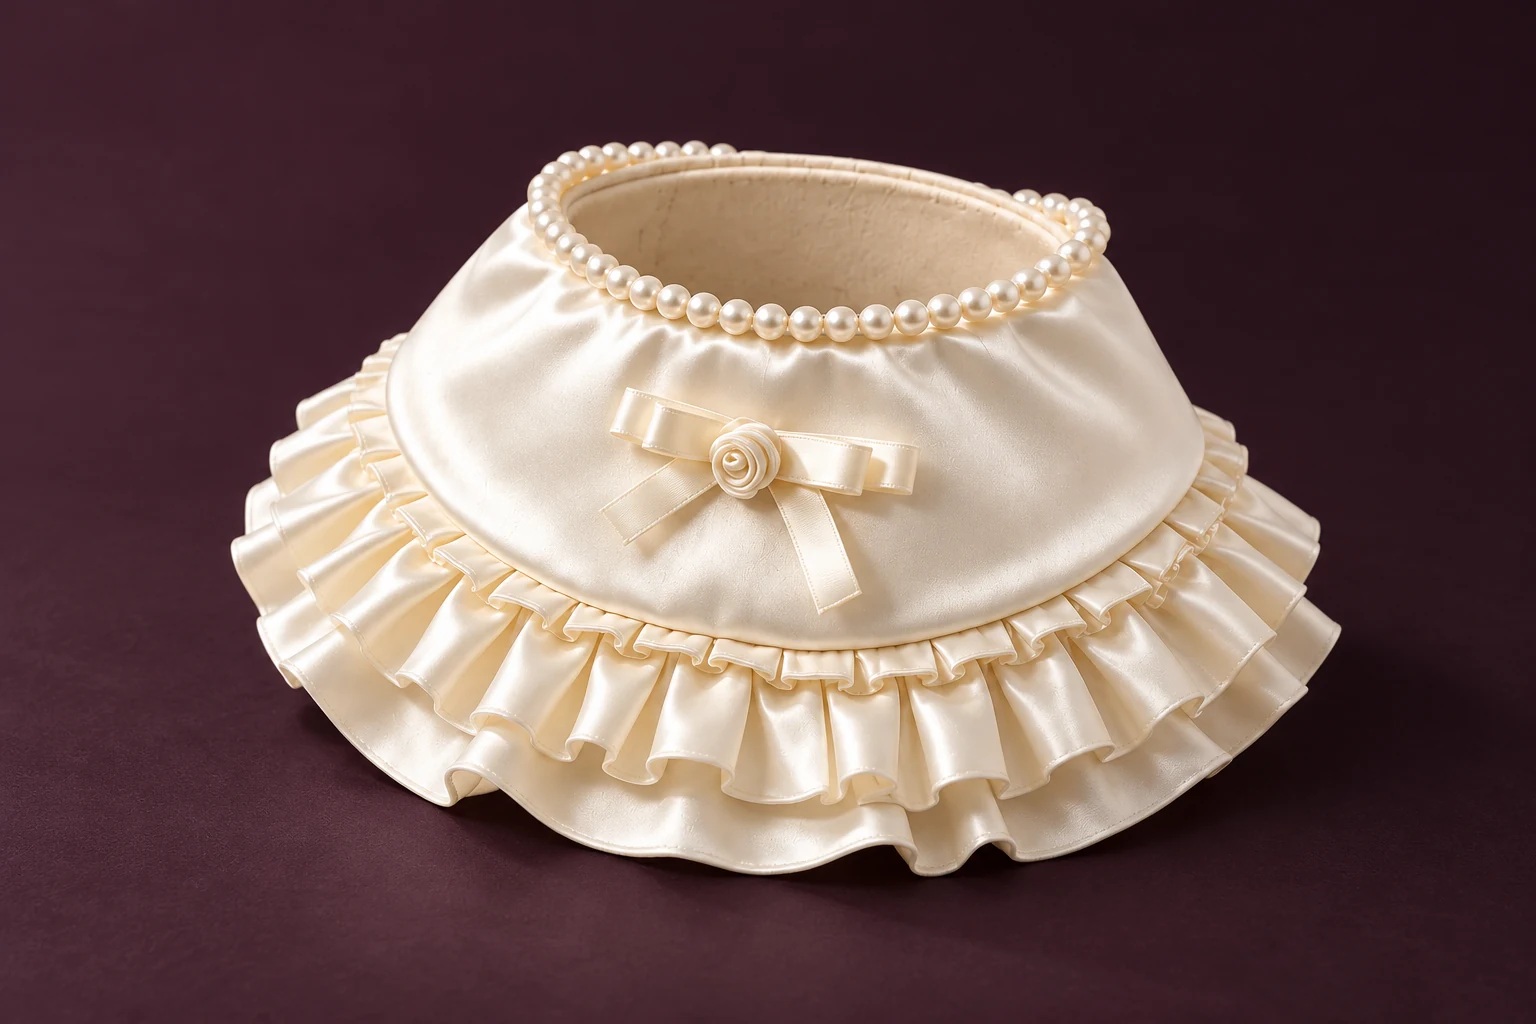
Mark the visible artwork area after tying, folding or threading the bandana. Keep print placement clear of seams, closure points and collar channels as required by the chosen design. For N01, focus on the ruffle layers and edging; for N02, define the fold and patterned front. These decorative samples need their own neck-opening and reverse review.
| Structure to discuss | Measurements to record | Sample view to request |
|---|---|---|
| Tie-on | Finished outline, ends and intended neck range | Tied front and reverse |
| Snap-on | Finished size and fastening positions | Open reverse and fastened view |
| Over-collar | Channel and intended collar dimensions | Threaded assembly and visible front |
| Decorative neckwear | Neck opening, front shape and attachment positions | Front, reverse and fastening detail |
Common gaps in a buying brief.
Calling every style a bandana
Name the actual structure and show the reverse or fastening requirement.
Approving only the artwork file
Review the design on the finished sample, including folds and labels.
YOUR NEXT CONVERSATION
Bring these details to the discussion.
Choose the points you want to review. Your selection will be added to the editable specification notes in your enquiry.
Neckwear development briefBlank CSV worksheet · opens in a spreadsheetNEXT STEP